31 December 2011

Happy New Year!

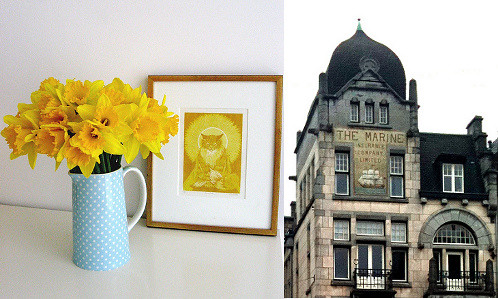
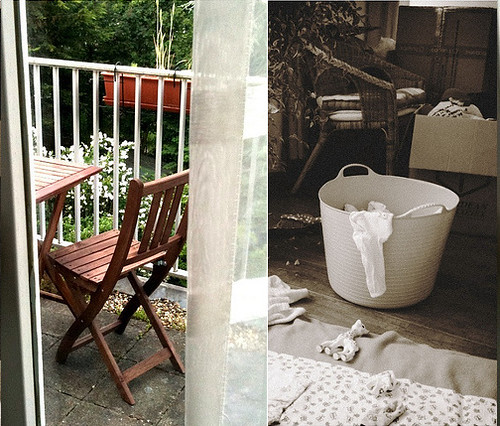
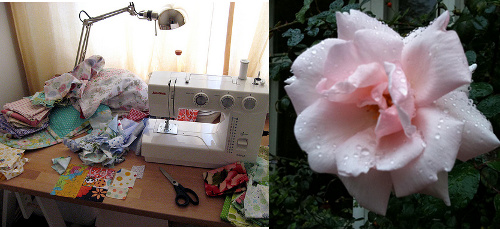
I wanted to make a "year in review" photo montage like I did last year, so while the fireworks burst outside (annoyingly waking the Wee Lass several times), I searched for a couple photos for each month. As you might expect, nearly all the photos that I took this year were of her. But I did take photos of other small moments and that's mostly what I've included here.

This year was amazing, exhausting, and inspiring and I'm looking forward to the exciting new things in 2012. Wishing you all the best in this next turn around the sun!

January


February


March


April


May


June


July


August


September


October


November


December


Photographs and artwork by Allison Gryski. © All rights reserved.

25 December 2011

Happy Holidays!


Solstice Bouquet


May your days be merry and bright over the holidays. Christmas with a small one is extra fun, even though she's too little to understand it yet. While the toys and storybooks have been enjoyed, I think tissue paper has been the biggest hit.

We are doing lots of feasting and grazing, just how we like to celebrate as the days start to lengthen again. Happy Solstice and Christmas!


Snowflakes


Photographs and artwork by Allison Gryski. © All rights reserved.

19 December 2011

Recipe: Nanaimo Bar

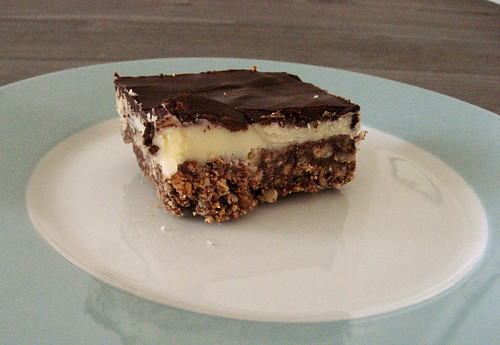
Nanaimo Bar isn't exactly a traditional Christmas treat, but it is a traditional Canadian treat, and as an expat, I have a perfect excuse to indulge such cravings. It's also made in easy stages, which is a plus with a small one around. I'm not sure I'll have time to make rolled and cut cookies this year as they're pretty time consuming.


Nanaimo Bar


I had to substitute "volkoren" biscuits (wholewheat digestive biscuits) for the graham crackers, but they're nearly the same. If you wanted to make it more Christmas-y, add some crushed up peppermint candy canes to the bottom layer in place of part of the nuts/crumbs and add a couple drops of peppermint essence to the icing layer.

Bottom Layer
1/2 cup butter
1/4 cup sugar
2 oz semi-sweet chocolate
1 egg, beaten
1 tsp vanilla (optional)

Melt the butter, sugar, and chocolate in a double-boiler. Then stir in the egg and vanilla and remove from the heat.

Add:
2-1/4 cup graham cracker crumbs (or whole-wheat digestives)
1 1/2 cup finely chopped walnuts (replace with more crumbs if you have a nut allergy)
optional: replace some of the nuts/crumbs with smashed up hard peppermint candy.

I use the blender to make the crumbs and chopped nuts. You don't want it completely powder, but avoid big pieces or the bottom layer will not have structural integrity when you cut it into squares.

Pack this mixture into a 9x9" pan (I used a 20x30cm pan, which was a little large and required extra for the middle and top layers). Refrigerate for 2 or more hours, until it's solid.


Nanaimo Bar


Middle Layer
1/4 c butter (absolutely NOT margarine)
2 cups icing (powdered) sugar
2 tsp vanilla
3 Tbsp milk
optional: a few drops peppermint essence

Beat these together until smooth. Spread on the crumb layer and refrigerate another 30-60 minutes until the icing is firm.

Top Layer
4 oz chocolate (bitter plus semi-sweet to taste)
1 Tbsp butter

Spread the melted chocolate on the chilled icing layer (try to do it pretty quickly or the icing will go all melty). I make this layer more bitter than I would like on its own in order to balance out the sweet icing layer.

Refrigerate it over night, then cut into squares the next day. If you wipe down the edges of the pan and use a knife run under hot water you will get a tidier result than I did. These are dangerously addictive, but very rich. Best served with a glass of milk or a cup of coffee.

For a twist on this, see my Raspberry Variation.

You can find more of my recipes in the Food section, in the tabs along the top.


Nanaimo Bar


Photographs and artwork by Allison Gryski. © All rights reserved.

28 November 2011

The time flies by...


Fabric Market Finds


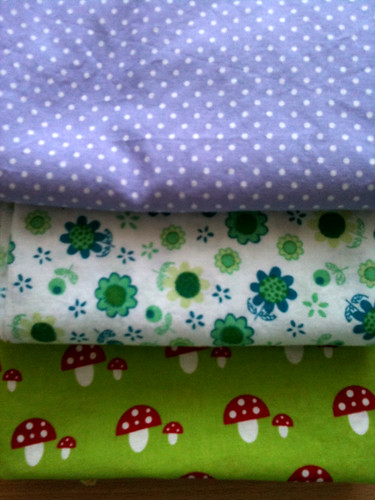
The days have been busy and tiring lately. I've been pondering making a quilt for the Wee Lass and have acquired some new fabric to this end. I'm not sure when I thought I'd have the time or energy, but we shall see...


More Fabric!


I also repaired a bonnet. The old ribbon ties were coming off so I knit a chin strap and added a button from my Jar of Vintage Buttons.


Baby Bonnet Repair


Photographs and artwork by Allison Gryski. © All rights reserved.

04 October 2011

Sewing projects of late

I've been on a bit of sewing kick lately. I first unpacked my sewing machine in order to line the Wee Lass's curtains so they'd block the light better during naps. Then I received a fabulous baby quilt for the Wee Lass and couldn't help but be inspired. Having a baby has been giving me lots of ideas for things to make, but not a lot of time. My sewing tends to happen in many small increments over naptimes. So far, I've made a fabric book and a tag square toy.


Octopus Prototype


The latest project is this octopus. This is actually a prototype as I'm still working out the pattern and construction. I may (eventually) post a tutorial once I refine it. The end result is still pretty cute though and the Wee Lass definitely enjoys chewing on it.

Photographs and artwork by Allison Gryski. © All rights reserved.

01 October 2011

Tutorial: Sew a Tag Square Baby Toy


Tag Square


The ribbon for the snap closure on the fabric scrap book is the Wee Lass's favourite bit to chew, so I thought I'd make a snap-free tag square toy. Before I had a little one, I'd have wondered how this scrap of fabric and trims could be interesting, but really, anything with bits to hold and that she can put in her mouth is currently a popular toy. Conveniently, it's a project you can finish during a single naptime.

Materials:
  • 2 same-size squares of fabric
  • Assorted trims, ribbons, or strips of fabric
  • Some polyester filling


Tag Square Materials


Step 1: Design and Pin your Tag Square


Tag Square Step 1


Cut various lengths of trim, ribbon, or strips of fabric to form your tags. If you're using strips of fabric, you'll need to finish the raw edges somehow so that they don't fray during the no-doubt-frequent washings (or sew little tubes so the raw edge is inside). Fold each tag in half (with the right side facing out), and pin in between your two squares of fabric (with right sides of fabric together). I did 3 tags per side. Leave a good bit of space near the corners to account for the seam allowance and don't pin the tag(s) in the middle of one side, so that you have a gap for flipping the whole thing right side out.


Step 2: Sew Tag Square Together


Tag Square Step 2


Sew around your tag square, leaving a good gap for turning. Strongly backstitch on either side of this space. I also backstitched over each tag, to ensure that they were extra secure. When you're finished sewing, turn your square the right side out, and iron it flat.

Step 3: Filling your Tag Square


Tag Square Step 3


Now you need to stuff your square. Take a small bit of filling and stretch it out thinly until it's nearly the size of your square. Then stuff it inside and spread it out.

Step 4: Finishing your Tag Square


Tag Square Step 4


Now pin the tag(s) that you left off from your gap for turning, and sew them to one side of the opening. Now that they're fixed in place, quilt your square. This will hold the batting in place. Make sure that you run at least one line of stitching down along the opening to close it up. I used a square spiral pattern, working from the middle out.

That's it! I wondered whether it was worth writing a tutorial for this at all since it's super simple, but I figure that beginners, tired new parents, or parents-to-be might find it helpful. If you make a tag square baby toy inspired by this tutorial, I'd love to see it! Please add your pictures to my flickr group.


Tag Square Baby Toy


Photographs and artwork by Allison Gryski. © All rights reserved.

28 September 2011

Tutorial: How to Sew a Scrap Fabric Baby Book


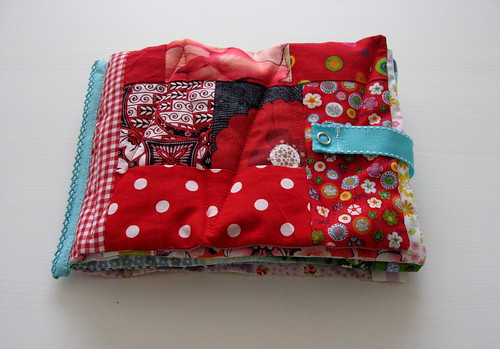
Rainbow Scrap Fabric Baby Book

Books, like all other objects, are for eating, according to the Wee Lass. Since I'm not that keen on her tasting and nibbling her board and paper books, I thought I'd make her a fabric one. This is a great project for all those tiny scraps in your stash. I went with a rainbow theme, but it would be fun to make an I-spy book with lots of animals and objects to find. I also just did totally random scrappy blocks, but if you have more time, you could make it a fancy block sampler.

Materials:
  • Lots of scrappy bits of fabric
  • Some polyester filling or scraps of quilt batting
  • Some double-fold bias tape for binding
  • Some ribbon, a bit of interfacing, a snap (optional)
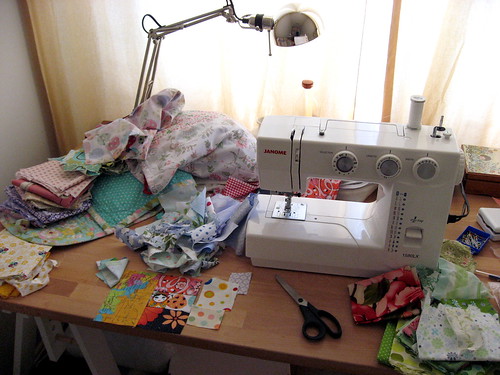

Scrap Fabric Mess


Step 1: Sew some patchwork blocks

First up, you need to make the pages of your book. I would recommend making 6-10 blocks, for a book with 3-5 pages. The one I made has 5 pages (red and pink covers, pink/orange spread, yellow/green spread, green/blue spread, and blue/purple spread).


Fabric Book Pages


Select your scraps and sew some together. I always backstitch at the start and end to secure the stitching. I did not do any planning or fussy cutting. I just sewed bits together, ironed seams to one side, then trimmed off excess and added another strip where necessary. Once it looked good, I stopped. You could certainly be more methodical and it would involve less futzing at the end. To make them the same size, I added a few strips here and there and then I picked the smallest of my squares and used it as a template to trim the others to match.

Step 2: Sewing your pages
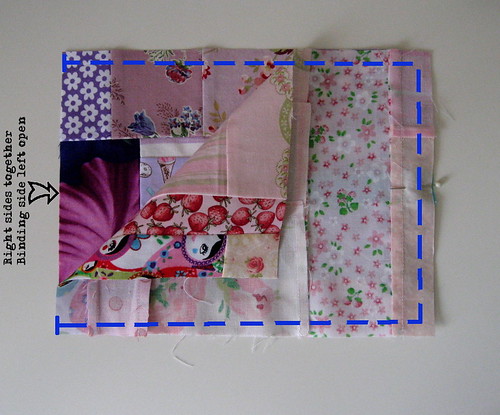

Fabric Book Step 2


Now that you have a stack of blocks (all the same size) pick an order for the blocks. The first and last block will form the front and back covers. Pair your blocks up into the pages and pin them right sides together. Make sure you've got them facing the way you want and decide which edge will go in the binding (you won't be sewing along that edge until later). (If you want a closure, read step 2b now.) Sew each page around 3 sides, leaving the binding edge open. Then flip it right side out. I find a blunt knitting needle helps poke the corners out well. Iron it flat.

Step 2b: Adding ribbon for a closure (Optional)
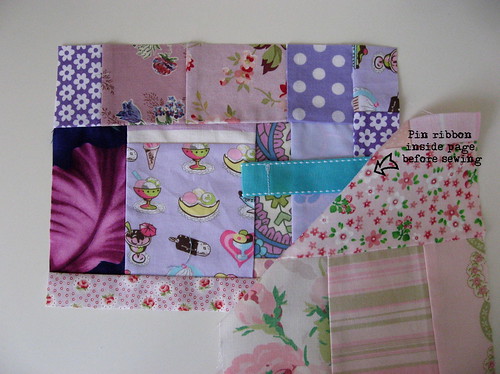

Fabric Book Step 2b


If you want to add a snap or tie-ribbon closure, you'll need to pin that inside the cover. You can either do a single ribbon with a snap on the front like I did, or two ribbons that tie the book closed. The snap was probably a strategic error on my part as the Wee Lass loves chewing on the strap (it's easy to grasp) and I'm less keen on the metal snap in her mouth. If you want to have tie ribbons, just put a length of ribbon inside the seam (with ribbon in between the right-sides) that will be the outside edge of the front and back cover pages. For the snap closure, put the ribbon just on the back cover. I suggest a heavier, grosgrain ribbon, like I used to withstand pull of the snap.

Step 3a: Adding snap for closure (Optional)
Before you stuff and quilt your front cover, you need to add the snap. You need to do it now unless you want the back of the snap to show on the first page of the book. I preferred to have it hidden inside. I think it's wise to iron a scrap of interfacing on the inside where the snap will be attached to strengthen the fabric. Add your snap according to the directions on the snap package. The upper part should go on the ribbon, the lower part on the front cover.

Step 3: Stuffing and Quilting your pages
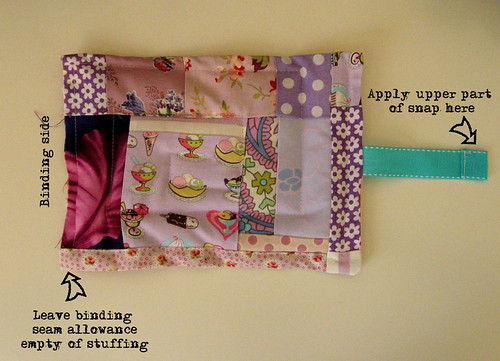

Fabric Book Step 3


Now stuff your pages with some batting or polyester fibre filling. If you're using the latter, pull it out until it's quite thin or your book will be super poofy and hard to bind. Tuck the batting inside the page and spread it out. Leave a good gap on the binding side with NO filling, or again, your book will be hard to bind. I'd suggest about twice your seam allowance. I only left the seam allowance empty and it wasn't enough, so thus speaks the voice of experience. Now you need to quilt the page. I did square spirals (start in the middle and work outwards) and giant zig-zags. Whatever pattern you chose, make sure that you run a line down by the empty part at the binding edge to hold the stuffing in.

Step 4: Binding your book
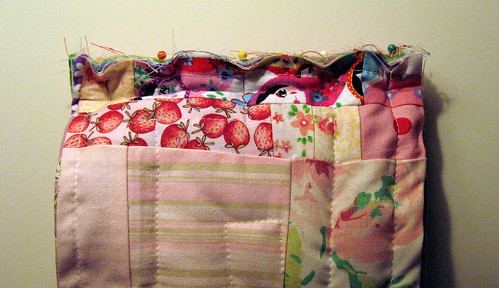

Fabric Book Step 4


Once you have quilted all your pages, pin them together at the binding side. I suggest you sew them together at this point, to make adding the binding easier since the pages will already be fixed.
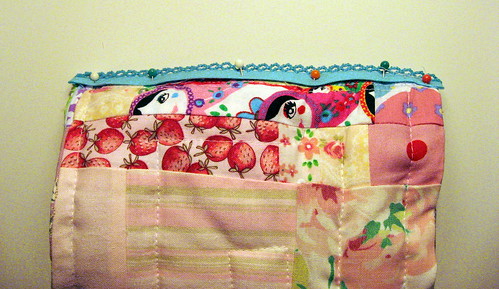

Fabric Book Step 4 cont'd


Once you've done that, pin the bias tape along the binding, folding the raw ends inside. You might find it easier to iron them in once you've measured the length you need and then pin it. At this point, if you left a generous seam allowance empty of filling, you should be able to just sew the binding on. If, like me, you're finding it quite snug and worried that you'll miss catching it on the underside, handstitch it on first, then zig-zag it to make it secure.
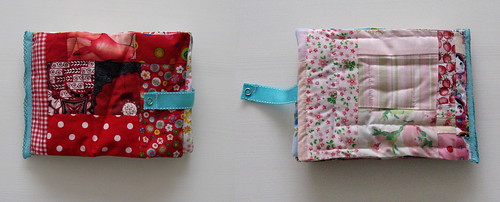

Front and Back


This project is a good one for the busy mama as you can just fling together a few scraps when you have a free moment and not worry about precise measuring and cutting. That's my least favourite bit of quilting, but I know some people love it, so if that's you, ignore me, and make some fiddly quilt blocks for your book! The book has been officially approved by the Wee Lass as delicious. If you make a fabric book inspired by this tutorial, I'd love to see it! Please add your pictures to my flickr group.
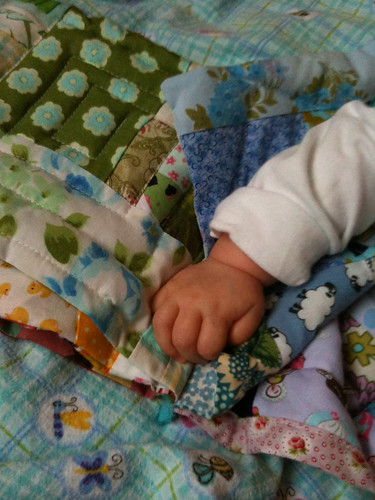

My book


Photographs and artwork by Allison Gryski. © All rights reserved.