When I was at the Naturwinkel (a local health/organic grocery store) the other day looking for wheat bran and molasses (to make bran muffins), I noticed that they had fresh cranberries. I couldn't resist getting a big bag full to make Cranberry Cottage Pudding! This recipe is something my family tends to make around Thanksgiving particularly, but also sometimes at Christmas. It's best eaten slightly warm and it's oh-so-good the next morning for breakfast.

cranberry cottage pudding
When I got home with my sack of gorgeous cranberries and looked at the recipe I noticed that it called for baking soda. This gave me a bit of pause. So far, I've avoided using baking soda here since it's not a commonly available ingredient. In muffins and cookies, it's usually just to aid browning, not to provide any sort of rising action, so you can safely skip it. But in this cake-y pudding I wasn't sure. I have a gingerbread cake recipe that has only baking soda and once I accidentally used baking powder instead. It was horrible ... the cake stayed like gooey batter and even with loads more cooking time it never "set". It remains one of my few totally inedible baking disasters. So I didn't want to waste ingredients on a similar debacle this time.
I decided to wait a couple days and seek out some baking soda. I ended up resorting to the US and British food store on the Leidsestraat, which had the familiar orange cardboard boxes of baking soda. Baking in a foreign country definitely has its challenges, even once you track down the ingredients. My oven here is about the size of a microwave (in fact, it's
also a microwave) and things tend to bake faster. Also, most of my recipes list the temperature in °F, so I have to convert to °C and then account for a convection baking setting.
But on to the recipe!
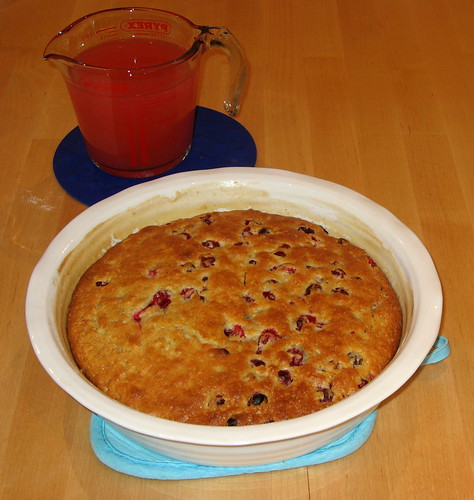
cranberry cottage pudding
Cranberry Cottage Pudding
Simmer 2 cups fresh cranberries in 2 cups water just until the skins pop.
Drain the berries,
saving the cranberry water for the the lemon sauce.
Mix in a large bowl:
- 1-1/2 cups white flour
- 1/2 cup white sugar
- 2 tsp baking powder, 1/2 tsp salt, 1/4 tsp baking soda
In a small bowl, beat together with a fork:
- 1 egg
- 1/2 cup milk
- 1/2 cup melted butter
Add the wet ingredients to the dry and combine. Then gently fold in the cranberries.
Put into a greased and floured 8x8x2" pan (or a round dish like I used).
Bake 30-40 minutes at 400°F (or 190°C for 25 mins if you have a small convection oven). Keep an eye on it the first time you make it, to determine how long it needs in your oven. It should be golden brown on top and a toothpick should come out cleanly.
Lemon Sauce
In a small saucepan, mix together:
- 1 cup white sugar
- 2 Tbsp corn starch (mix into sugar)
- 2 cups of the water used for simmering the cranberries
Stir over low heat to dissolve. Then bring it to a boil,
stirring constantly. It should start to change from cloudy to clear(ish) as it heats. Once it comes up to the boil, turn it down immediately, stirring on low heat until it thickens.
Stir in 1/4 cup butter, and the juice and zest of 1 lemon (at least 1 Tbsp peel and 3 Tbsp juice).

cranberry cottage pudding

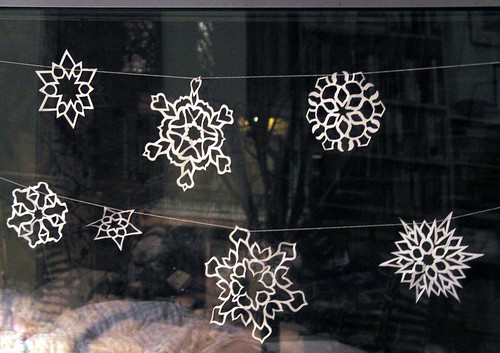
 Paper Snowflakes