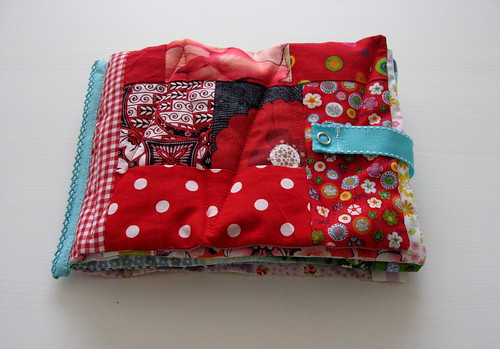
Rainbow Scrap Fabric Baby Book
Books, like all other objects, are for eating, according to the Wee Lass. Since I'm not that keen on her tasting and nibbling her board and paper books, I thought I'd make her a fabric one. This is a great project for all those tiny scraps in your stash. I went with a rainbow theme, but it would be fun to make an I-spy book with lots of animals and objects to find. I also just did totally random scrappy blocks, but if you have more time, you could make it a fancy block sampler.
Materials:
- Lots of scrappy bits of fabric
- Some polyester filling or scraps of quilt batting
- Some double-fold bias tape for binding
- Some ribbon, a bit of interfacing, a snap (optional)
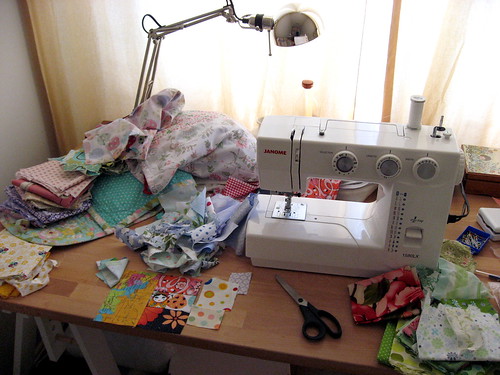
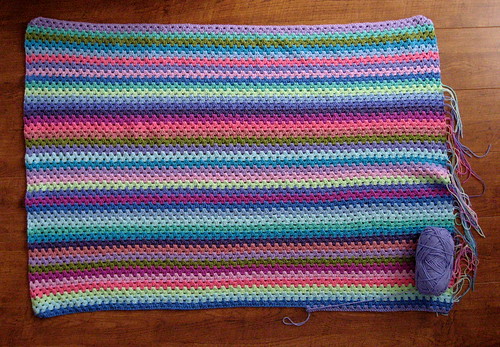
Scrap Fabric Mess
Step 1: Sew some patchwork blocks
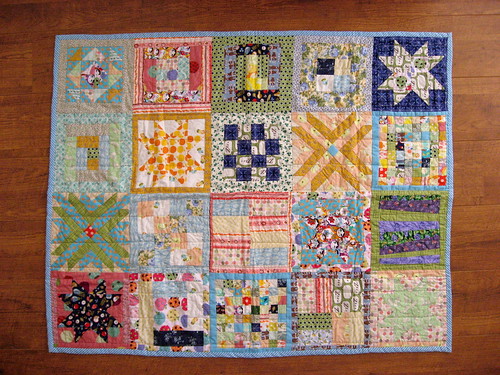
First up, you need to make the pages of your book. I would recommend making 6-10 blocks, for a book with 3-5 pages. The one I made has 5 pages (red and pink covers, pink/orange spread, yellow/green spread, green/blue spread, and blue/purple spread).

Fabric Book Pages
Select your scraps and sew some together. I always backstitch at the start and end to secure the stitching. I did not do any planning or fussy cutting. I just sewed bits together, ironed seams to one side, then trimmed off excess and added another strip where necessary. Once it looked good, I stopped. You could certainly be more methodical and it would involve less futzing at the end. To make them the same size, I added a few strips here and there and then I picked the smallest of my squares and used it as a template to trim the others to match.
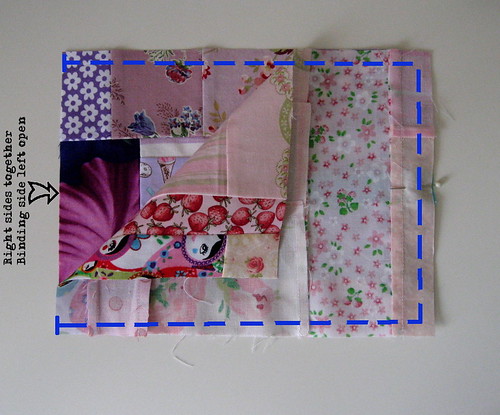
Step 2: Sewing your pages
Fabric Book Step 2
Now that you have a stack of blocks (all the same size) pick an order for the blocks. The first and last block will form the front and back covers. Pair your blocks up into the pages and pin them right sides together. Make sure you've got them facing the way you want and decide which edge will go in the binding (you won't be sewing along that edge until later). (If you want a closure, read step 2b now.) Sew each page around 3 sides, leaving the binding edge open. Then flip it right side out. I find a blunt knitting needle helps poke the corners out well. Iron it flat.
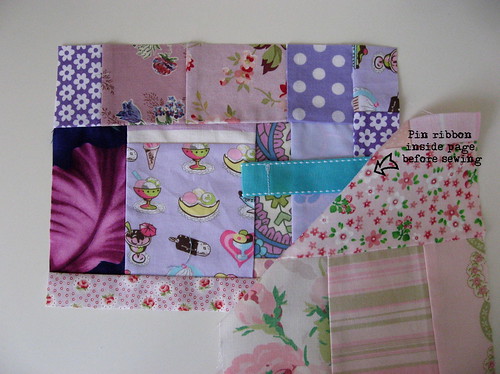
Step 2b: Adding ribbon for a closure (Optional)
Fabric Book Step 2b
If you want to add a snap or tie-ribbon closure, you'll need to pin that inside the cover. You can either do a single ribbon with a snap on the front like I did, or two ribbons that tie the book closed. The snap was probably a strategic error on my part as the Wee Lass loves chewing on the strap (it's easy to grasp) and I'm less keen on the metal snap in her mouth. If you want to have tie ribbons, just put a length of ribbon inside the seam (with ribbon in between the right-sides) that will be the outside edge of the front and back cover pages. For the snap closure, put the ribbon just on the back cover. I suggest a heavier, grosgrain ribbon, like I used to withstand pull of the snap.
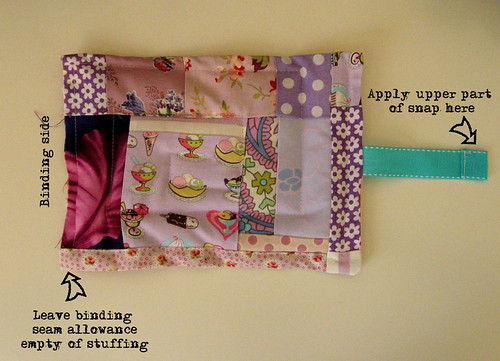
Step 3a: Adding snap for closure (Optional)
Before you stuff and quilt your front cover, you need to add the snap. You need to do it now unless you want the back of the snap to show on the first page of the book. I preferred to have it hidden inside. I think it's wise to iron a scrap of interfacing on the inside where the snap will be attached to strengthen the fabric. Add your snap according to the directions on the snap package. The upper part should go on the ribbon, the lower part on the front cover.
Step 3: Stuffing and Quilting your pages
Fabric Book Step 3
Now stuff your pages with some batting or polyester fibre filling. If you're using the latter, pull it out until it's quite thin or your book will be super poofy and hard to bind. Tuck the batting inside the page and spread it out. Leave a good gap on the binding side with NO filling, or again, your book will be hard to bind. I'd suggest about twice your seam allowance. I only left the seam allowance empty and it wasn't enough, so thus speaks the voice of experience. Now you need to quilt the page. I did square spirals (start in the middle and work outwards) and giant zig-zags. Whatever pattern you chose, make sure that you run a line down by the empty part at the binding edge to hold the stuffing in.
Step 4: Binding your book
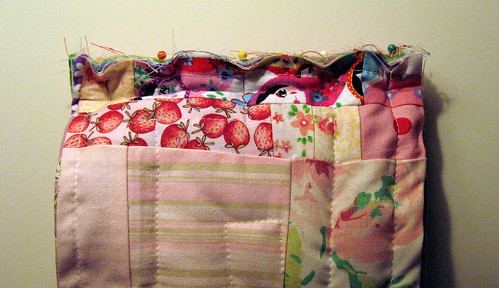
Fabric Book Step 4
Once you have quilted all your pages, pin them together at the binding side. I suggest you sew them together at this point, to make adding the binding easier since the pages will already be fixed.
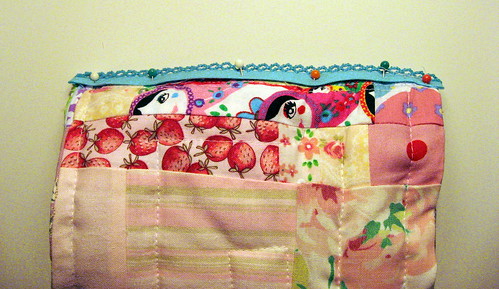
Fabric Book Step 4 cont'd
Once you've done that, pin the bias tape along the binding, folding the raw ends inside. You might find it easier to iron them in once you've measured the length you need and then pin it. At this point, if you left a generous seam allowance empty of filling, you should be able to just sew the binding on. If, like me, you're finding it quite snug and worried that you'll miss catching it on the underside, handstitch it on first, then zig-zag it to make it secure.
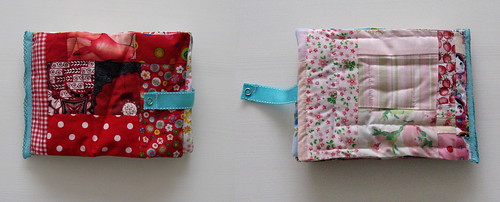
Front and Back
This project is a good one for the busy mama as you can just fling together a few scraps when you have a free moment and not worry about precise measuring and cutting. That's my least favourite bit of quilting, but I know some people love it, so if that's you, ignore me, and make some fiddly quilt blocks for your book! The book has been officially approved by the Wee Lass as delicious. If you make a fabric book inspired by this tutorial, I'd love to see it! Please add your pictures to my flickr group.

My book
Photographs and artwork by Allison Gryski. © All rights reserved.