
Oscar Bunny
For a while, I've been planning to make a stuffed bunny for my little bun-in-the-oven. I found this bunny pattern and it looked like what I had in mind and suited my skill level (which would be zero experience making toys).
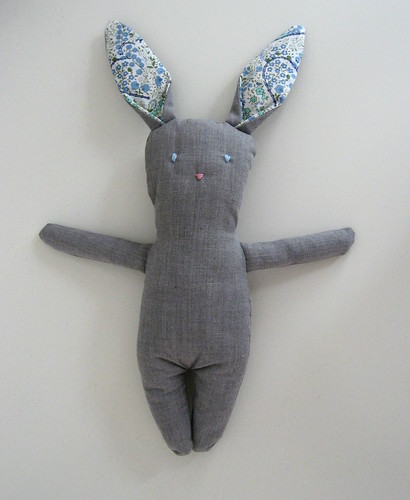
All the materials were things I already had on hand. The grey fabric is from the sleeve of a men's thrift store shirt that I used to use as a painting smock. I've named the bunny Oscar for the moment because the shirt was an Oscar de la Renta. Before you get outraged at my cutting up a designer shirt, it wasn't anything fancy ... a 50/50 poly-cotton made in China. The lining of the ears is some fabric I bought here in the Albert Cuyp market.
The pattern is pretty simple, though the instructions could use more detail for beginners like me. I wasn't really sure how to attach the arms and definitely had no idea about embroidering features. For the arms and closing the seams, I ended up using the ladder stitch that I used to bind my quilt. For the features, I used a satin stitch. The one change I made was to add a little filling to the ears before attaching them. I think the legs could have used a wider gap than the pattern gives, because the fabric did end up bunching there, even with the notching. The pattern is split into 4 pages for some bizarre reason. Once I'd taped them together and cut it out, it was clear it would easily fit on a single page, so I have no idea why it's like that.
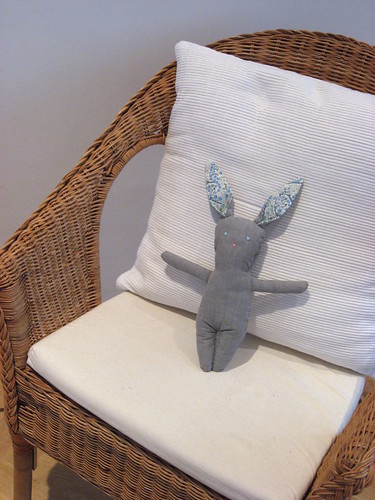
A bunny for Bun
I asked my friend Barbara about how to hide the ends of the yarn used for embroidering the face. Here's the instructions she gave me:
I do this all the time with my knitted toys. But it's one of those things that's easy to show, and hard to explain in writing (and also much easier to do with knitted toys, compared to fabric ones).
When you want to embroider an eye, for example, take a long piece of embroidery floss. Go into the head somewhere on the head, and have the needle come out where you need to start embroidering. Pull the floss through until you have an end about 4-5" long where you first went in - leave this, you will do something with it later.
Embroider the eye in whatever method you've chosen.
After inserting the needle the last time, have it come out at another place on the head, and pull the floss through. Then carefully go back through the hole just made, trying not to catch the fabric, and come out at another spot on the head. Do this a few more times, then trim off whatever floss is left. The bit of floss sticking out should hide inside if you squish the head a bit. Then you can thread the needle onto the bit of floss you left at the beginning, and secure it in the same manner.
Running the floss ends several times through the head should anchor them securely, without having to leave a knot on the outside. If your floss is dark, and your fabric light, make sure you don't run it too shallow under the fabric, or it will show.
For making something similar in the future, I might try doing the face before closing the side seam. I found that the technique for hiding the embroidery floss did end up bunching the sides of the head a little, and it would be nice to shove a bit more filling in there after finishing that part. In this case, it's part of the charm of a handmade toy and eventually, I'm sure the cuddling (and slobbering) it will get from Bun will even it all out.
Photographs and artwork by Allison Gryski. © All rights reserved.
4 comments:
That is absolutely adorable.
Your bunny came out very cute. You're right, and it probably would be easier to embroider the face on a toy like this before sewing it together. Maybe others will find my instructions helpful, though.
So cute - I love the ears!
Very sweet!...you're expecting?! Even sweeter!
Post a Comment