
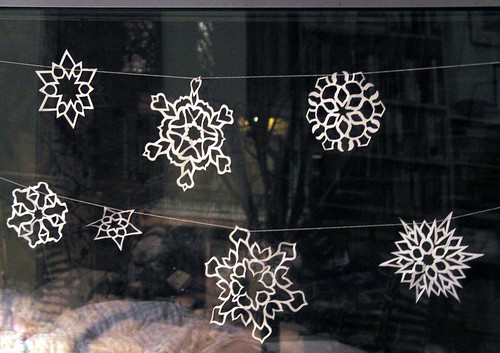
Snowflakes in the window
One of my Christmas traditions is making paper snowflakes. I love the surprise each time you unfold a new one. I think they make lovely decorations for windows and trees and presents.
I started making them when I was really little and I was always inspired by the beautifully lacy ones that my artsy older sister made. I learned that the secret is to not focus so much on the shape you're cutting out, but the amount of paper that you're leaving behind.
The most common way to make them results in 8-sided snowflakes. If you want a slightly more accurate snowflake with six points, here's how to fold your paper.
1. Fold a square of paper diagonally in half. (Trim off any excess if your paper is not square).

Snowflake Tutorial - Step 1
2. Fold in half again.

Snowflake Tutorial - Step 2
3. Now for the slightly tricky part, you need to fold it in thirds. First fold one side across to the two-thirds point. (If you want to be really precise, you can measure it with a protractor -- the two-thirds mark will be at 60°.)

Snowflake Tutorial - Step 3
4. Then fold the other side all the way across, matching the edges. If you fold it underneath as I did here, the paper forms a zig-zag.

Snowflake Tutorial - Step 4
5. Trim off the uneven top edge.

Snowflake Tutorial - Step 5
6. Cut out a bunch of shapes, then unfold and admire (you can always fold it back up if you want to cut out more).

Snowflake Tutorial - Step 6
To flatten your snowflake, gently press it open, then carefully iron it on a low setting with a tea towel in between the iron and the paper.
If you like colourful ones, make them from old magazines or leftover scraps of wrapping paper. You can also colour or paint your paper or decorate the snowflakes with glitter after they've been cut out. Though, to be honest, when I tried the glitter idea, I managed to get more glitter on me than the snowflake. I think making them out of sparkly wrapping paper is a better method.
I'm off to make a proper snowfall of tiny paper cuttings and create some pretty snowflakes to hang in my ficus tree!
If you make some snowflakes using this tutorial, I'd love to see them! Please add your pictures to my flickr group.
Update: See my follow-up tutorial to learn how to make Lacy Paper Snowflakes.
Photographs and artwork by Allison Gryski. © All rights reserved.
4 comments:
I remember making these with my grandmother when I was very young. Thanks for bringing back the memory.
Can you do some templates for the creatively challenged :)
This is great! I looked online for a long time for a tutorial that was clear and concise. I make them too and everyone is always asking how. Now I'll just point there here. Thanks! You can see some of mine here:
http://picasaweb.google.com/jubrosci/ScherenschnitteByJanine#
Just so you know, making snowflakes out of sparkly wrapping paper ALSO gets glitter everywhere.
Post a Comment