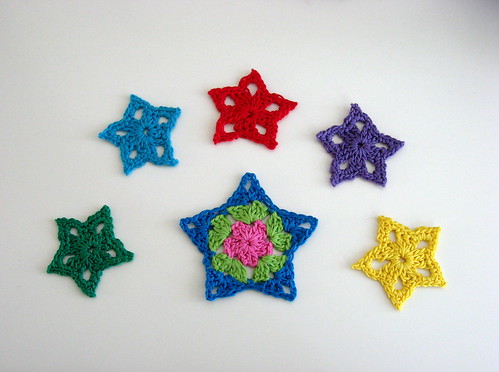
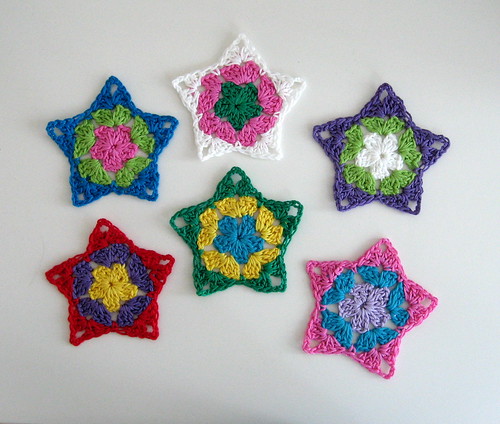
 Colouful Crochet Stars
To make the large stars for my star garland, I have been using a slightly modified version of the
Grandma Twinkle Stars. The lovely Michelle, who created that tutorial, has graciously given me permission to share my method for making them with 3 colours. I was inspired by the colourful star advent garland over at
Attic24.
Techniques you'll need to know:
If you can crochet a granny square then you already know all the techniques you need to make these stars. If not, track down someone to show you because you can probably learn in less than half an hour!! You need to be able to do chain (ch), slip stitch (sl), single crochet (sc), and double crochet (dc). (I am using the American crochet terms, so if you're familiar with British notation, substitute double crochet and treble crochet for where I say single and double. These conversions will be shown in brackets).
My only other crochet project before this star garland was an afghan that was essentially one GIANT granny square. So I've tried to be really detailed for other beginners. There are surely other techniques out there for making these multi-coloured stars. This is what worked well for me.
How to Make Colourful Crochet Stars:
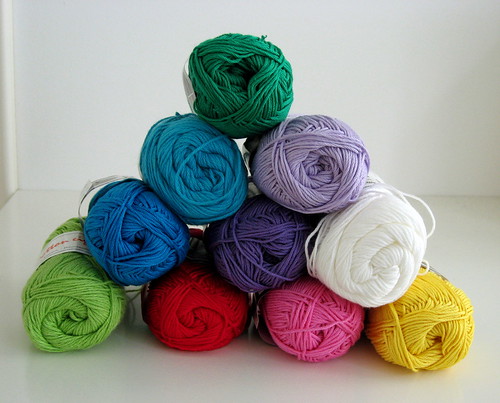
First, pick out 3 delicious colours of yarn to use, plus the hook size specified for your yarn. I'm using a mix of 4 ply and 5 ply cotton yarns, which specify to use a size 2.5mm or 3mm hook.
In your first colour:
Follow the
original pattern for the first round.
Now, as per the pattern, you need to slip stitch through the tops of the two double crochet (treble crochet) stitches to get to the next gap. So still in your first colour, do the two slip stitches, but don't do the chain 3 yet. This is when you get out your next colour.
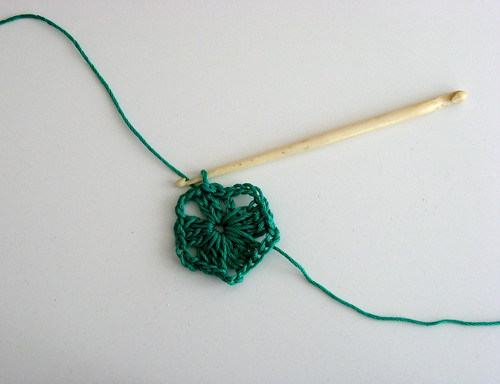 Just Before Colour Switch
In your second colour:
Hold the first colour plus a tail of your new colour out of the way, and hook through a loop of the new colour. Essentially you've just done a chain 1 using the new colour, to make the switch.
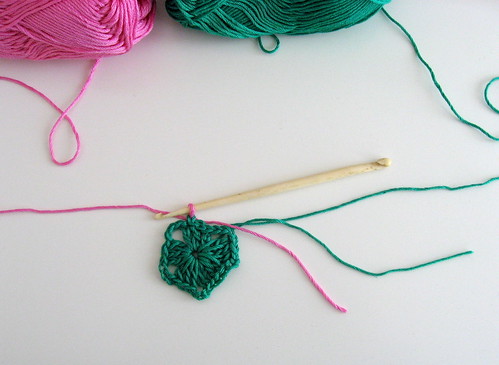 Colour Switch
Now do a single crochet (double crochet) in the gap with your new colour. You can now snip off the first colour, leaving enough of a tail for weaving in later.
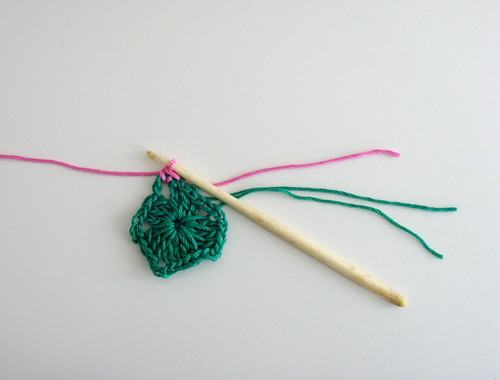 After Colour Switch
Continuing in your second colour, now do the chain 3 and continue with the
original pattern for the rest of the second round.
After the end of this second round, you will do the same as before to switch colours.
So do two slip stitches to get to the next gap, then get out your next colour.
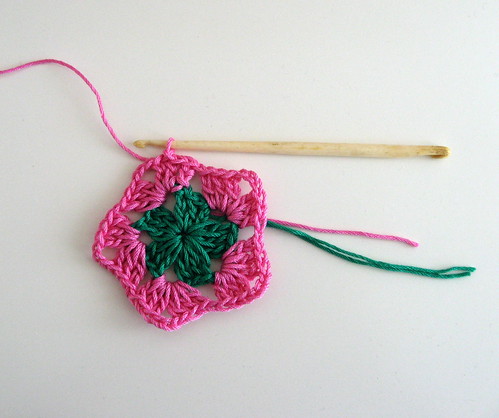 Just Before Next Colour Switch
In your third colour:
Just like before, hold the second colour plus a tail of your third colour out of the way, and hook through a loop of the new colour.
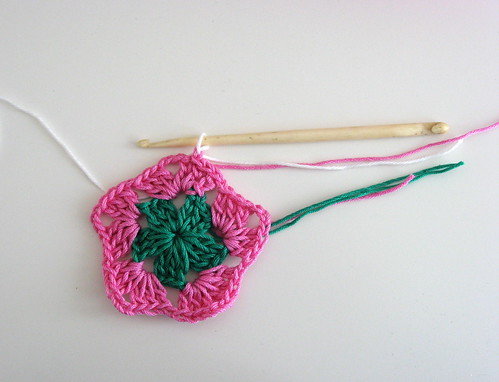 Colour Switch
Now do a single crochet (double crochet) in the gap with your new colour. You can now snip off the second colour, leaving enough of a tail for weaving in later.
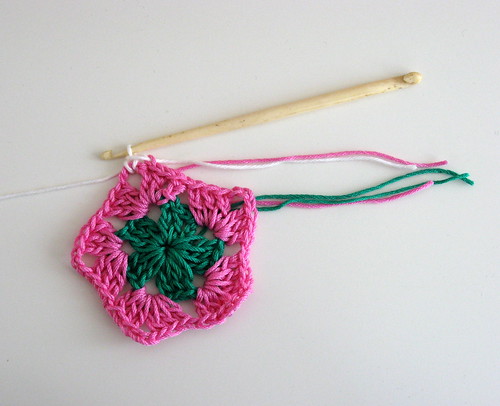 After Colour Switch
Continuing in your third colour, now do the chain 3 and continue with the the
original pattern to finish your star.
The tedious part of these colourful stars is all the extra ends to weave in, but they're so cheery!
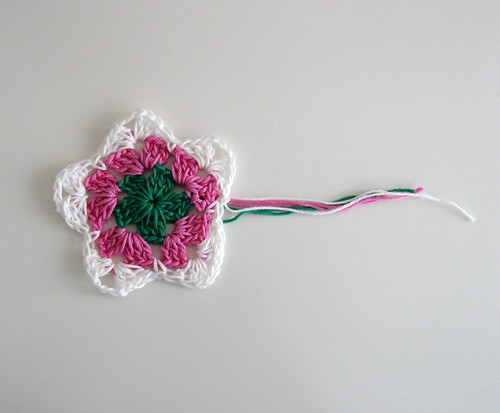 Finishing the Star
After completing a star, I smooth and stretch it out and squish the points to make them pointy instead of round. Then I press it into shape with a steam iron. Now see if you can resist making a stack more stars. I sure couldn't!
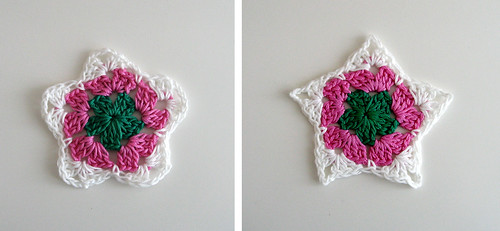 Before & After Pressing the Star
If you make some 3-colour stars following this tutorial, I'd love to see them! Post your pictures to my
flickr group.
Photographs and artwork by Allison Gryski. © All rights reserved.


